參考來源:
https://zhuanlan.zhihu.com/p/455467230
https://www.dswhi.com/2023/02/18/%E7%BE%A4%E6%9A%89synology-wordpress%E9%80%9F%E5%BA%A6%E5%84%AA%E5%8C%96phpredis/
安裝redis server
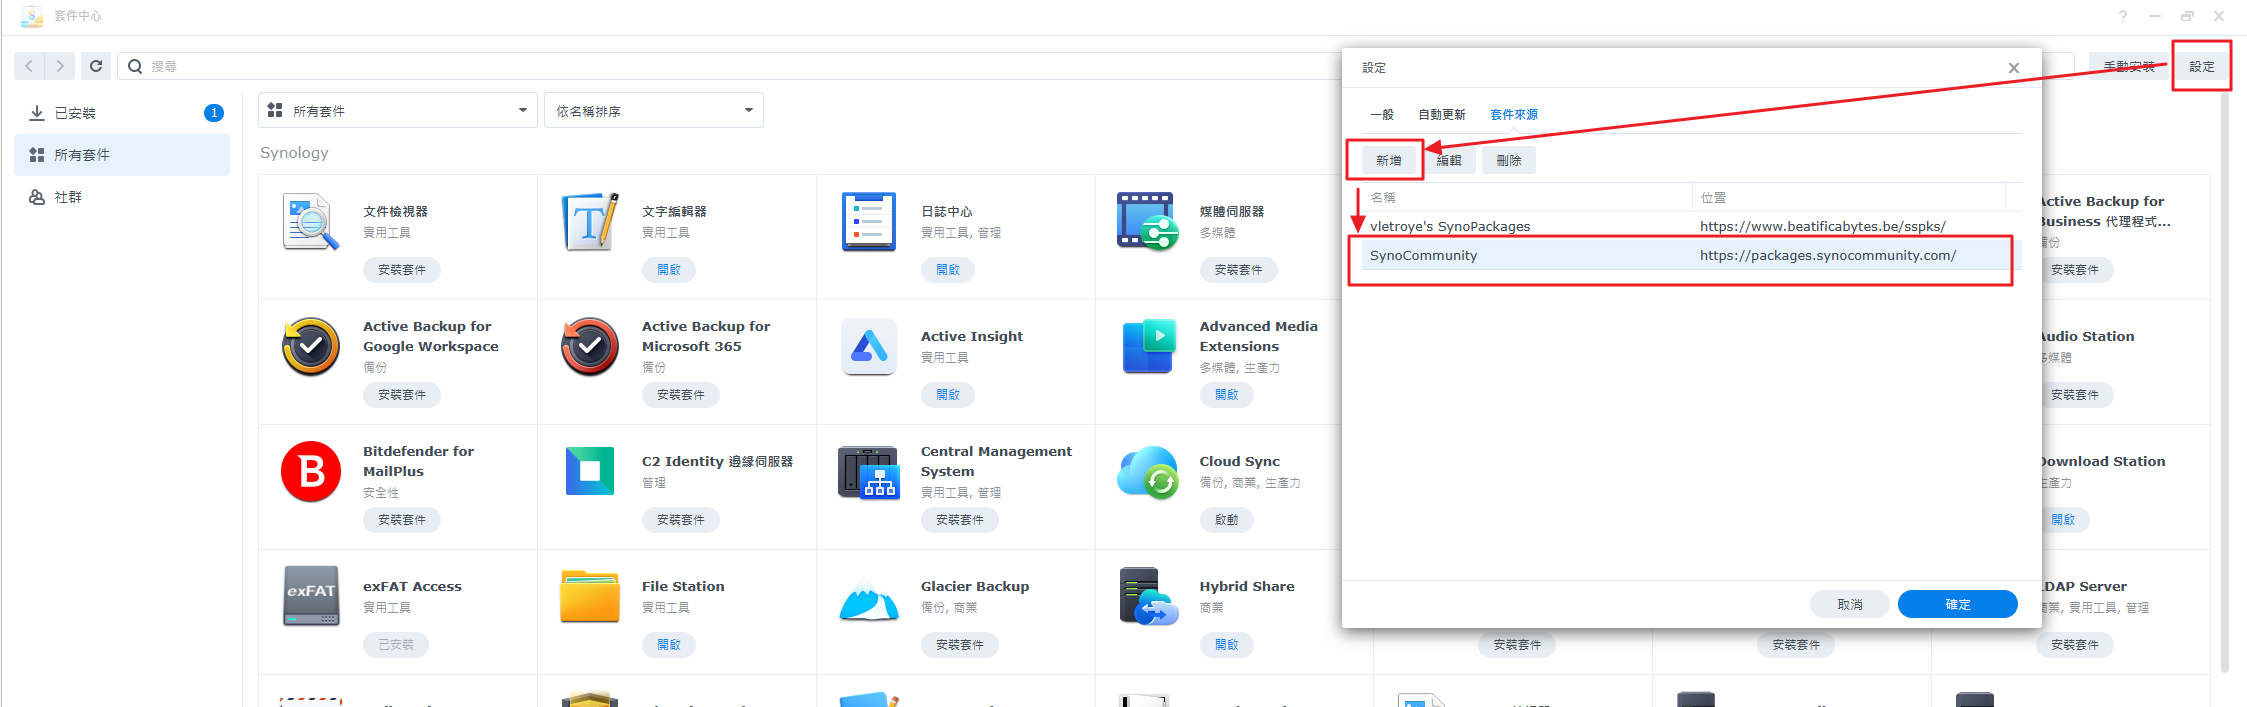
Step1. package center先增加第三方社群synocommunity套件庫,這樣就可以安裝redis套件

用命令編輯 vim /var/packages/redis/var/redis.conf

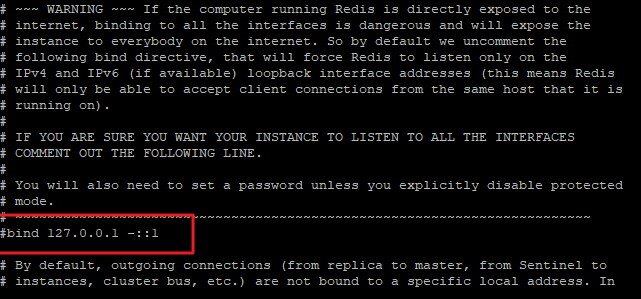


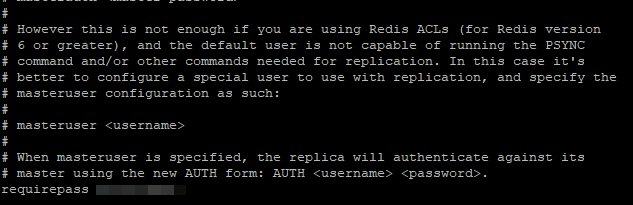
編輯完後將redis套件停用後啟用,以上設定就會生效
php redis module手動加入
群暉內建的php7.3-8.0從gui尚無法看到php redis模組,然而有些網站服務需要依賴這個模組,別擔心,其實這模組只是被隱藏起來了,需要用cli手動編輯設定檔啟用它。
Step1. 用ssh進入dsm,然後cd PHP7.3/misc/, vim php-fpm.ini

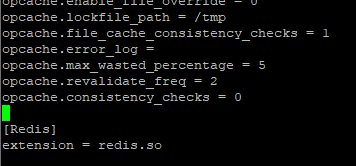
在最後面加入這段
[Redis]
extension = redis.so
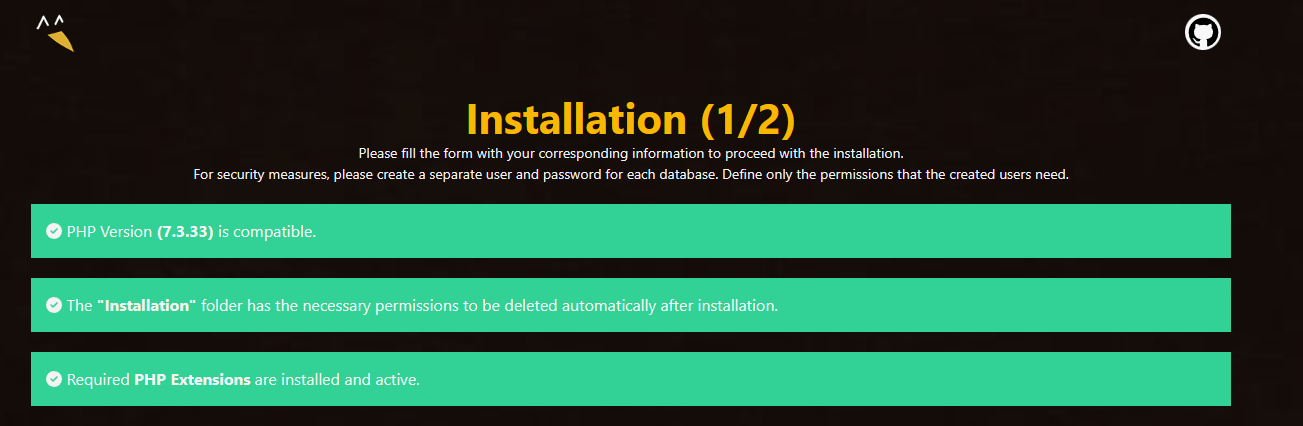
我測試安裝的yesilcms原本卡住,現在偵測到啦